See the future
Design faster and visualize in real-time with Lumion 3D rendering software
Your complete solution for
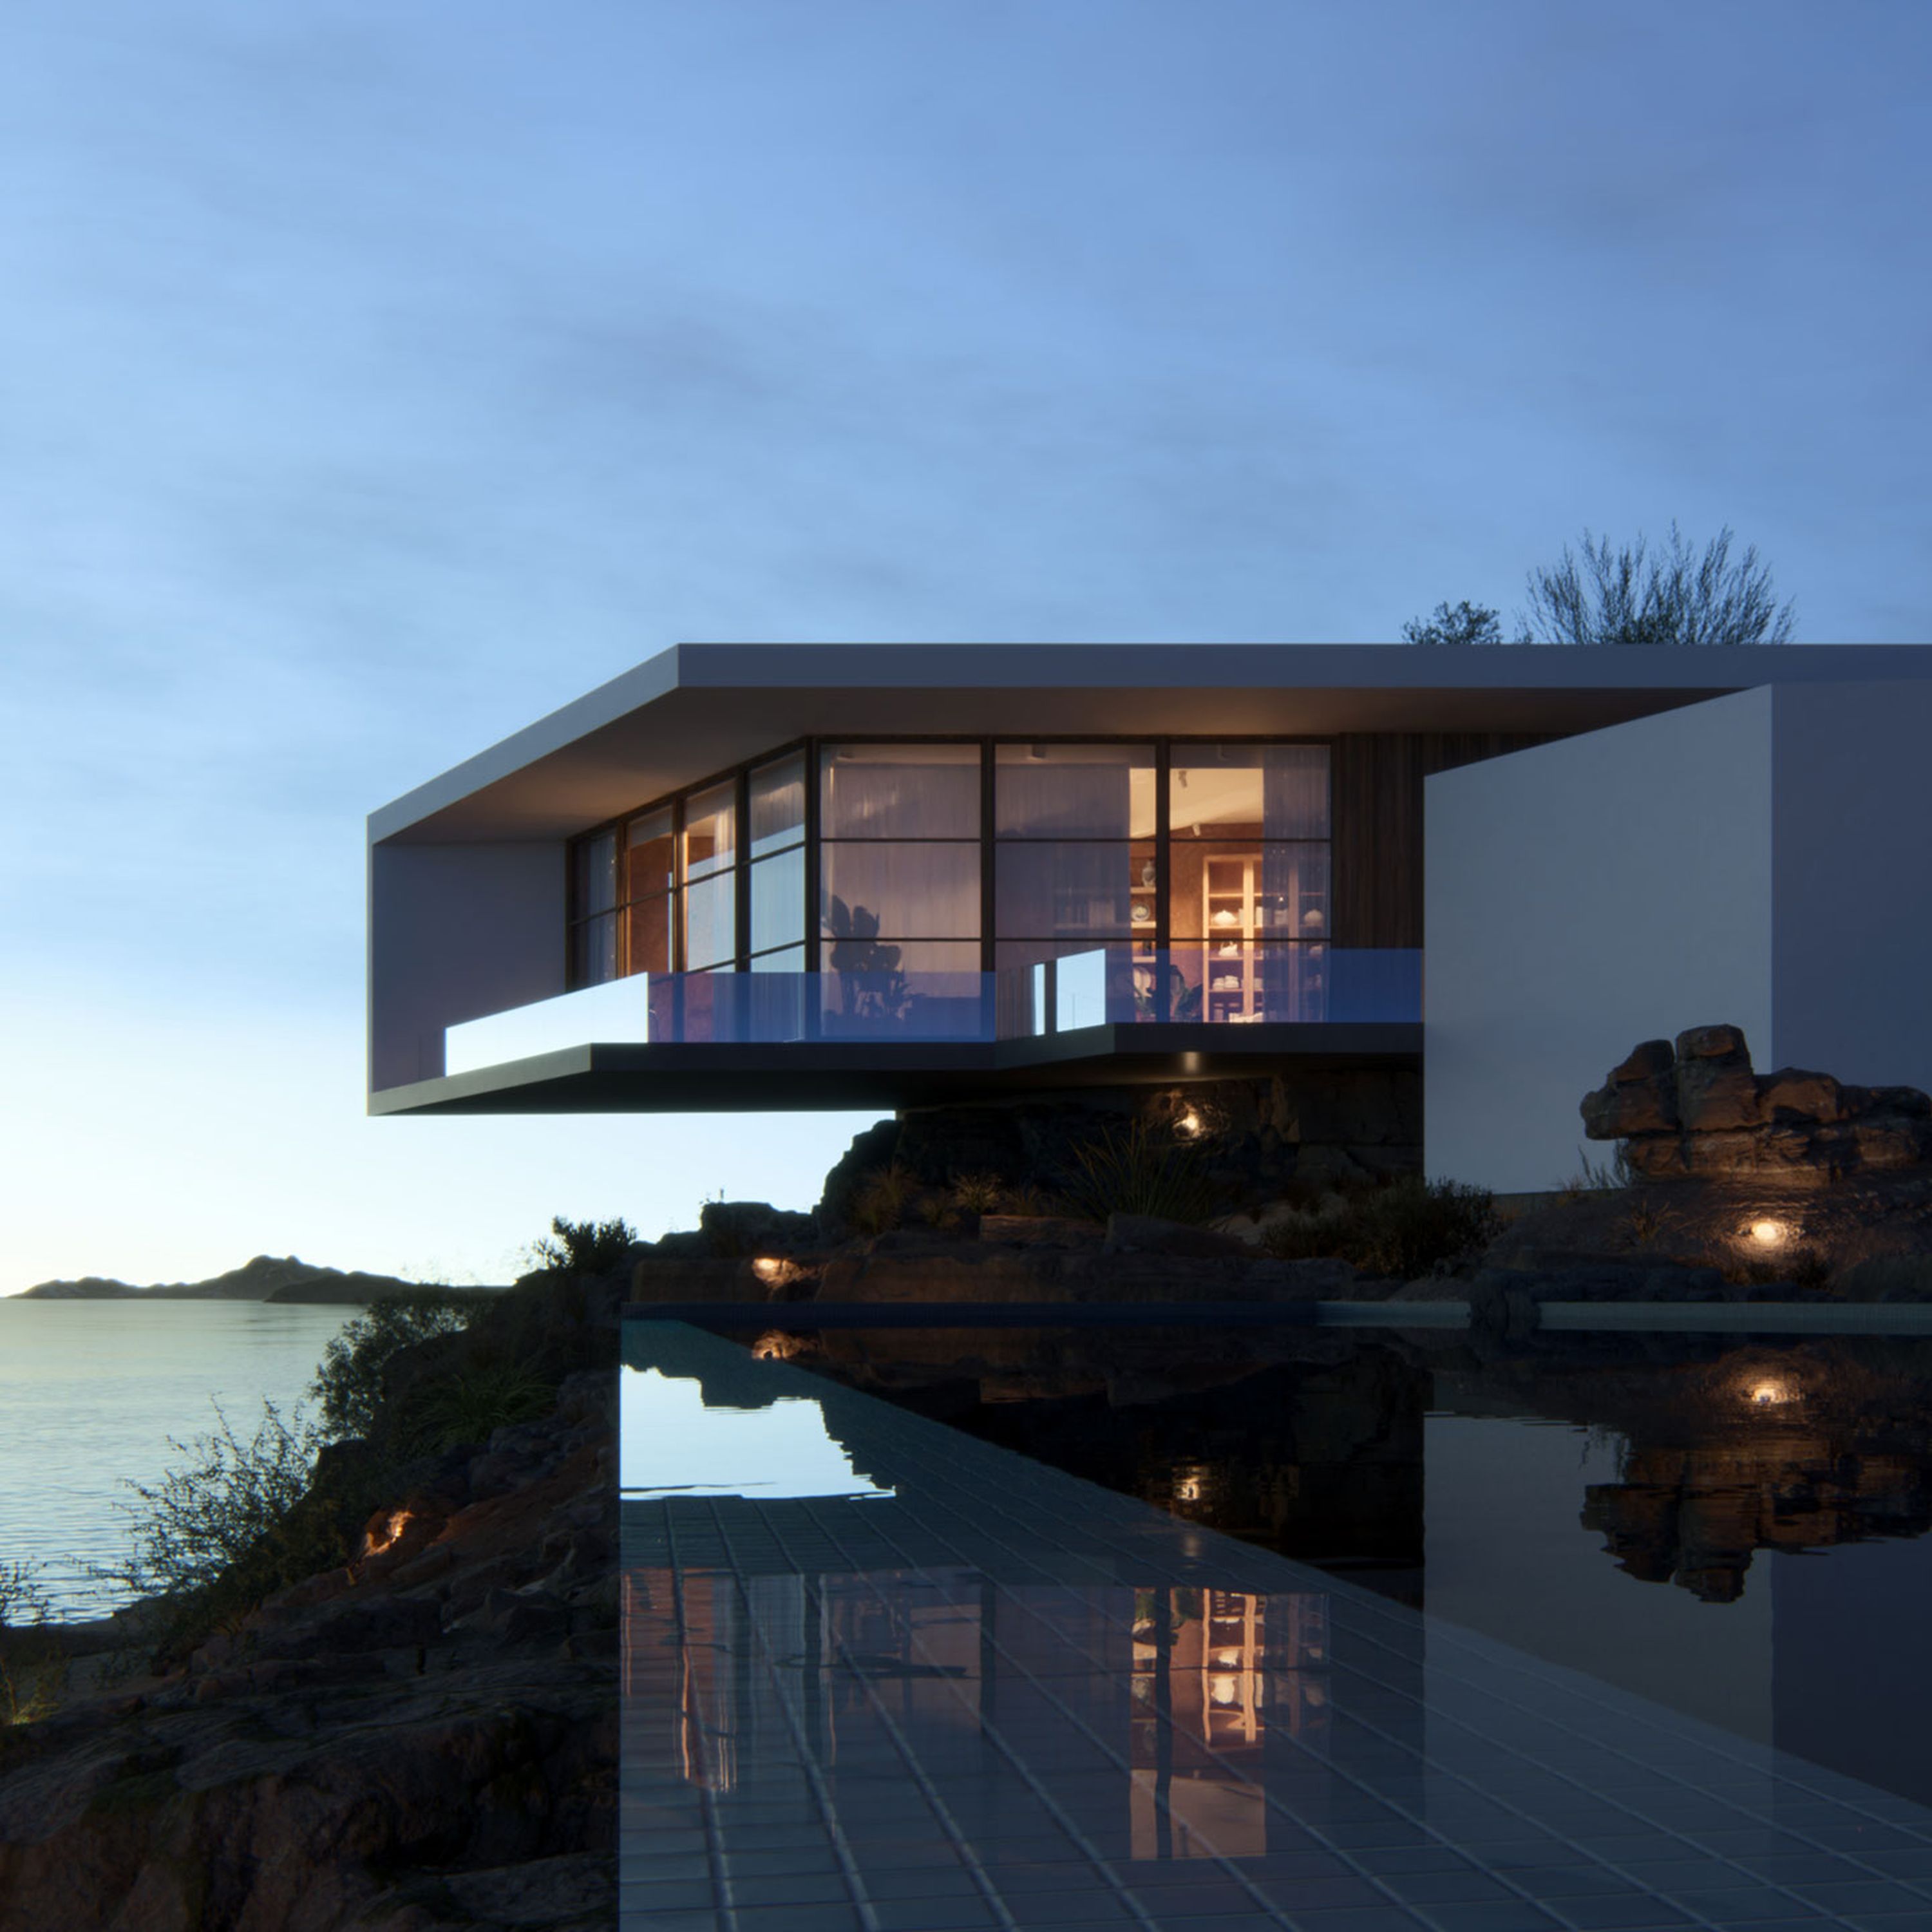
Bring spaces to life
Transform any 3D model into an experience others can see and feel. Easily add context, detail, and atmosphere that will make your designs stand out.
With one-touch controls and a diverse content library of materials, objects, characters, and nature items, Lumion gives you all you need to breathe life into your designs.
Oscar Niemeyer, Casa das Canoas, 1951 © Pictoright Amsterdam 2022
Create in real-time
No matter the CAD or 3D modeling software you use, Lumion fits seamlessly into your workflow and empowers you to drive design decisions faster and with full confidence.
Model and render in real-time with the Lumion LiveSync plug-in, available for all major CAD software. You can make changes on the fly, quickly test ideas, and visualize your designs at any point in their development process.
High-speed, high-quality renders
Whether you have 7 hours or 7 minutes, it’s refreshingly simple to create stunning images, videos, and 360 panoramas that capture the beauty of your designs.
From the first design evaluation to the big client presentation, Lumion's fast rendering speed enables you to incorporate visualizations at any phase, creating a visual foundation that helps everyone feel invested.
3-second clip, 90 frames, full HD, at 64 samples, rendered on a NVIDIA® GeForce RTX™ 4090 GPU in 18 minutes
What our customers are saying

Stephanie Braconnier
Founding Principal, Future Landscapes
I feel proud that I can bring 2D spaces to life and craft visuals that inspire people to take action, to protect or conserve or enhance nature in public spaces.

Philip Bartman
Senior Associate, SAOTA
As passionate designers, it is important to enjoy the process of developing and conceptualizing projects. It's also important that we have fun while doing it.
Lumion allows us to do exactly that.

Mathieu Anfosso
Lead Designer, TEN OVER STUDIO
We started using Lumion as a communication tool to convey our designs, and the more we were using it, the more we realized it’s not about just rendering anymore. We can use this in our design process.

Olav Bruin
Creative Director, Atelier Nomadic
For us, Lumion is the perfect concept design tool, especially when a visual presentation for a client is due.

Giulia Pastore
Architect, Atelier Nomadic
You don't have to look up how to use Lumion because you can intuitively find your way around.

Matt Zhang
Director of Design & Development, The Luxe Design Studios
When clients see a fly-through video with every detail, all the lighting, all the materials—it really gives them a realistic view of what their project could be. And I think that is what brings a sparkle to their eye.
Stephanie Braconnier
Founding Principal, Future Landscapes
I feel proud that I can bring 2D spaces to life and craft visuals that inspire people to take action, to protect or conserve or enhance nature in public spaces.
Philip Bartman
Senior Associate, SAOTA
As passionate designers, it is important to enjoy the process of developing and conceptualizing projects. It's also important that we have fun while doing it.
Lumion allows us to do exactly that.
Lumion 2024 is here
Go beyond form and function
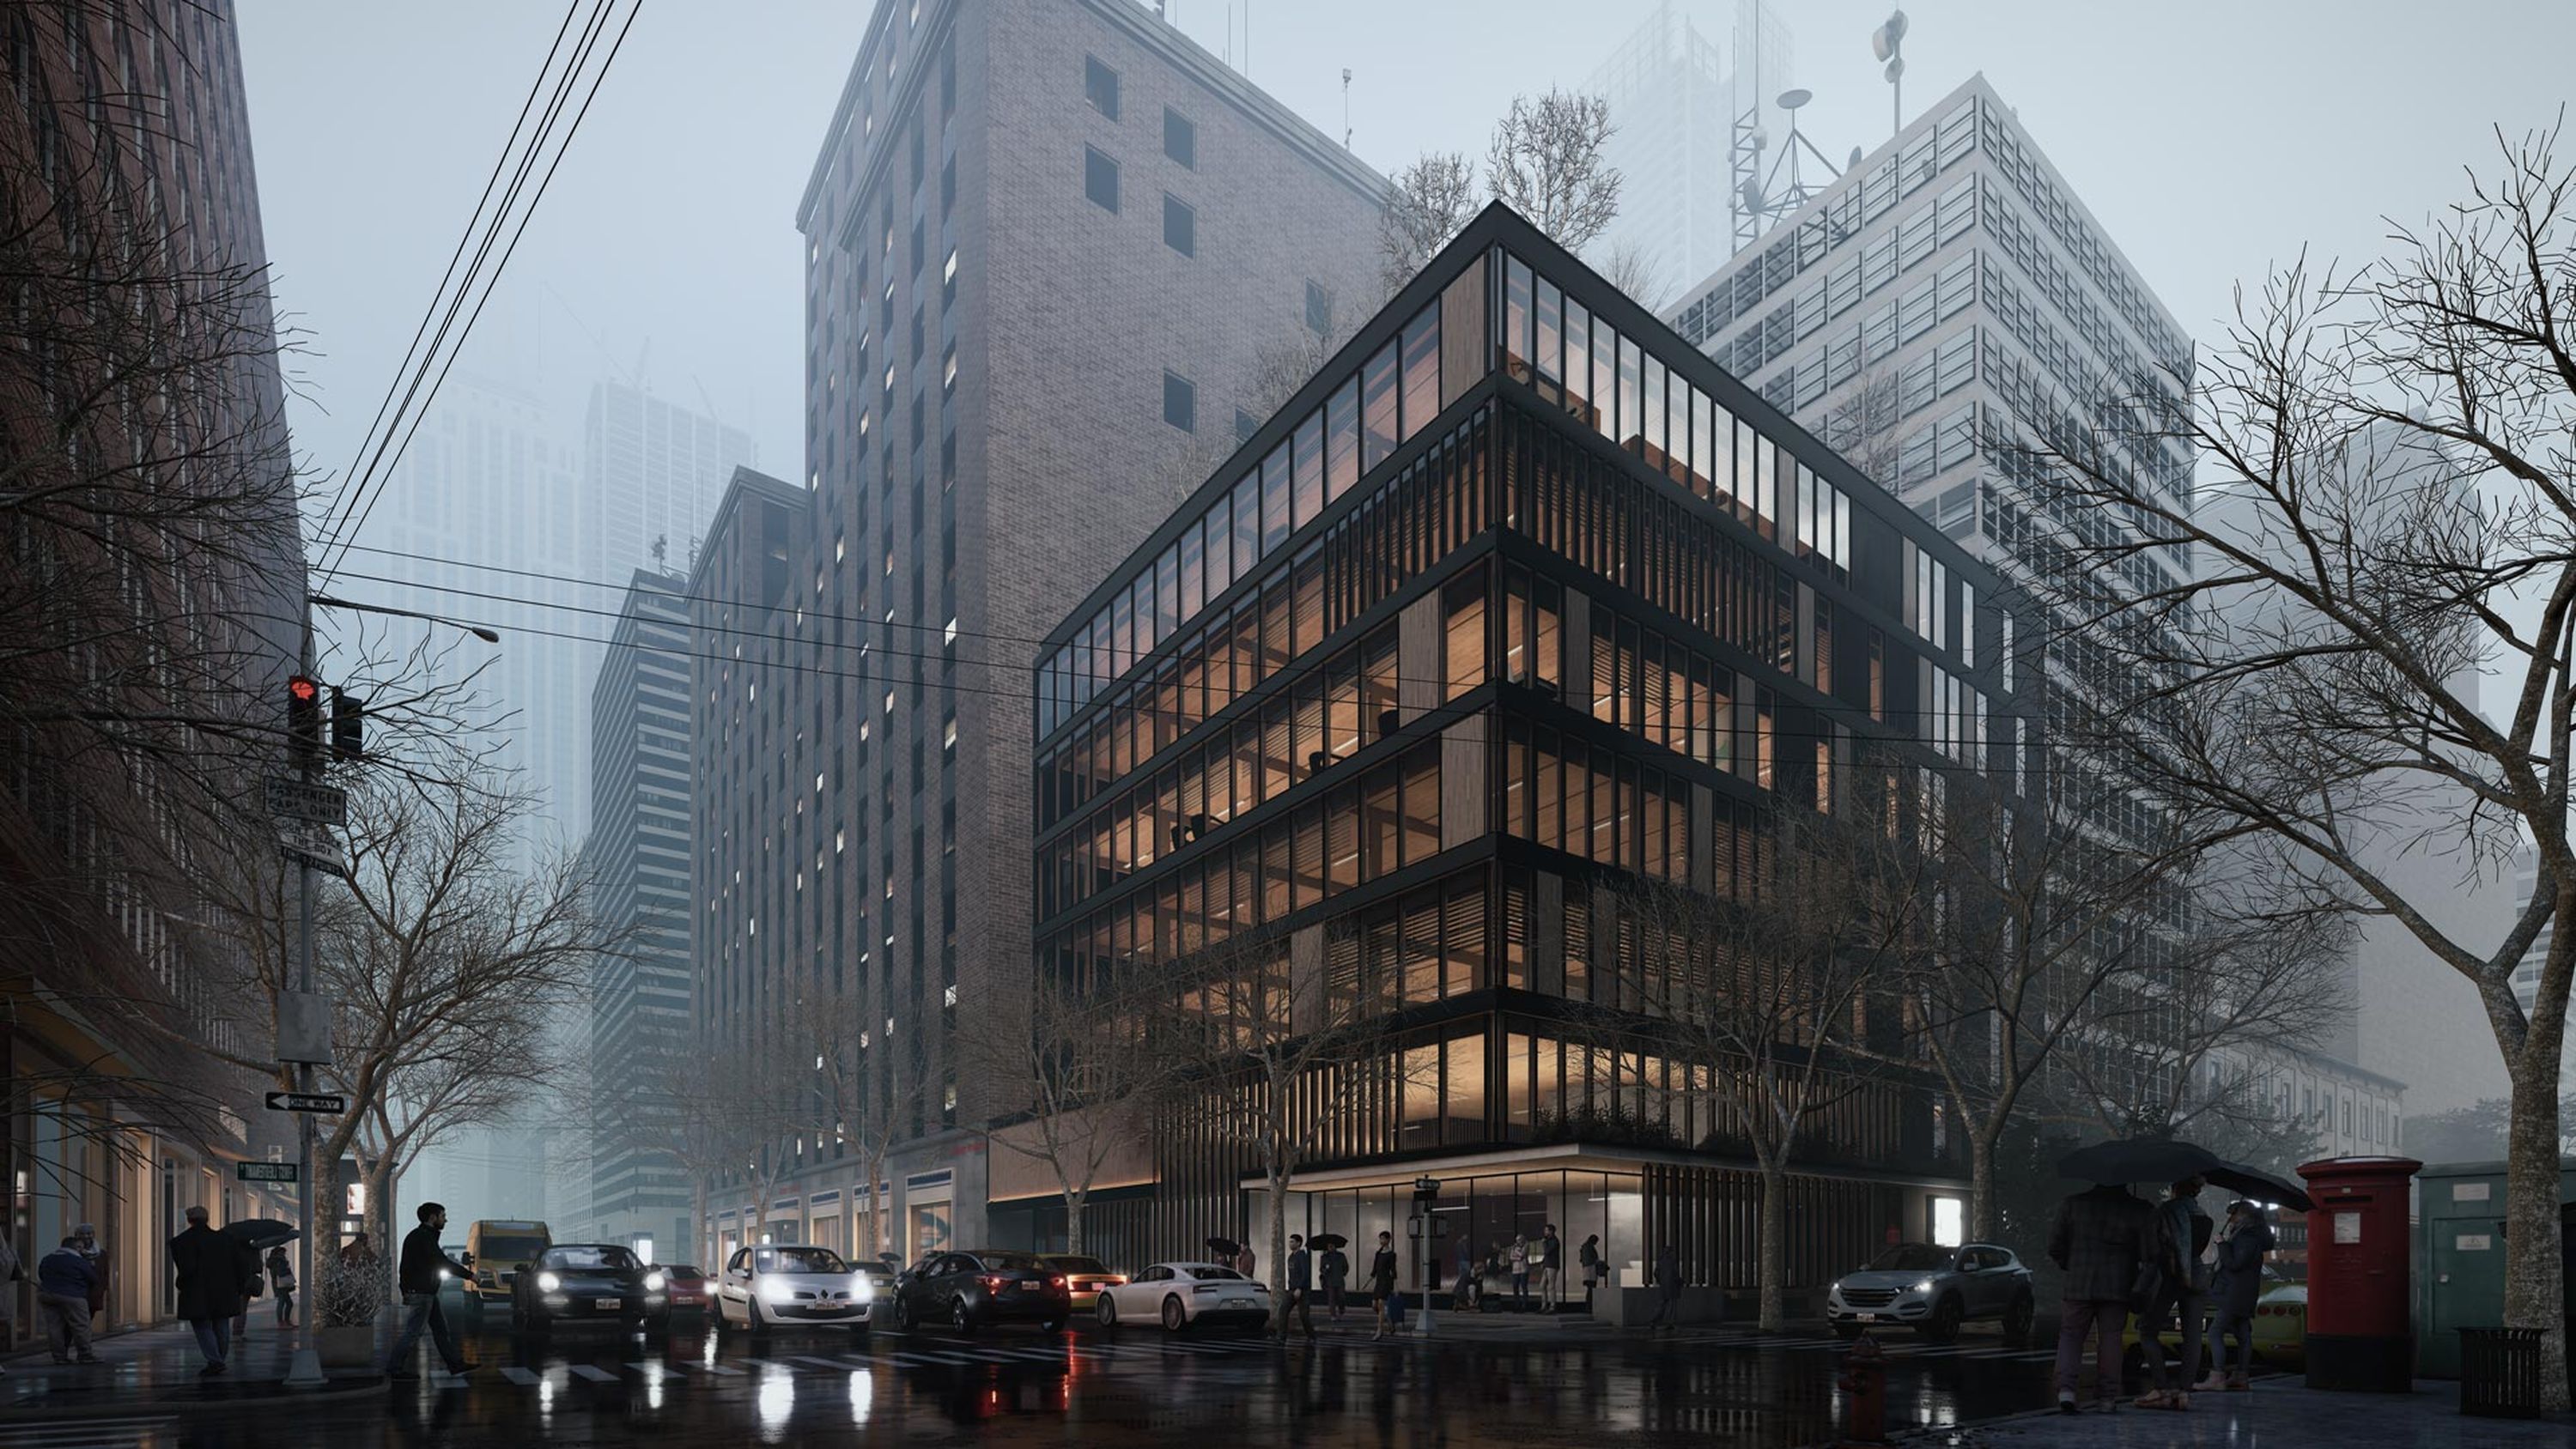
Surround your designs with atmosphere and emotion. Transition from a sunny morning to a rainy afternoon or a starry night.
In just a few clicks, you can instantly change the mood and explore your designs under different light, skies, or weather conditions.
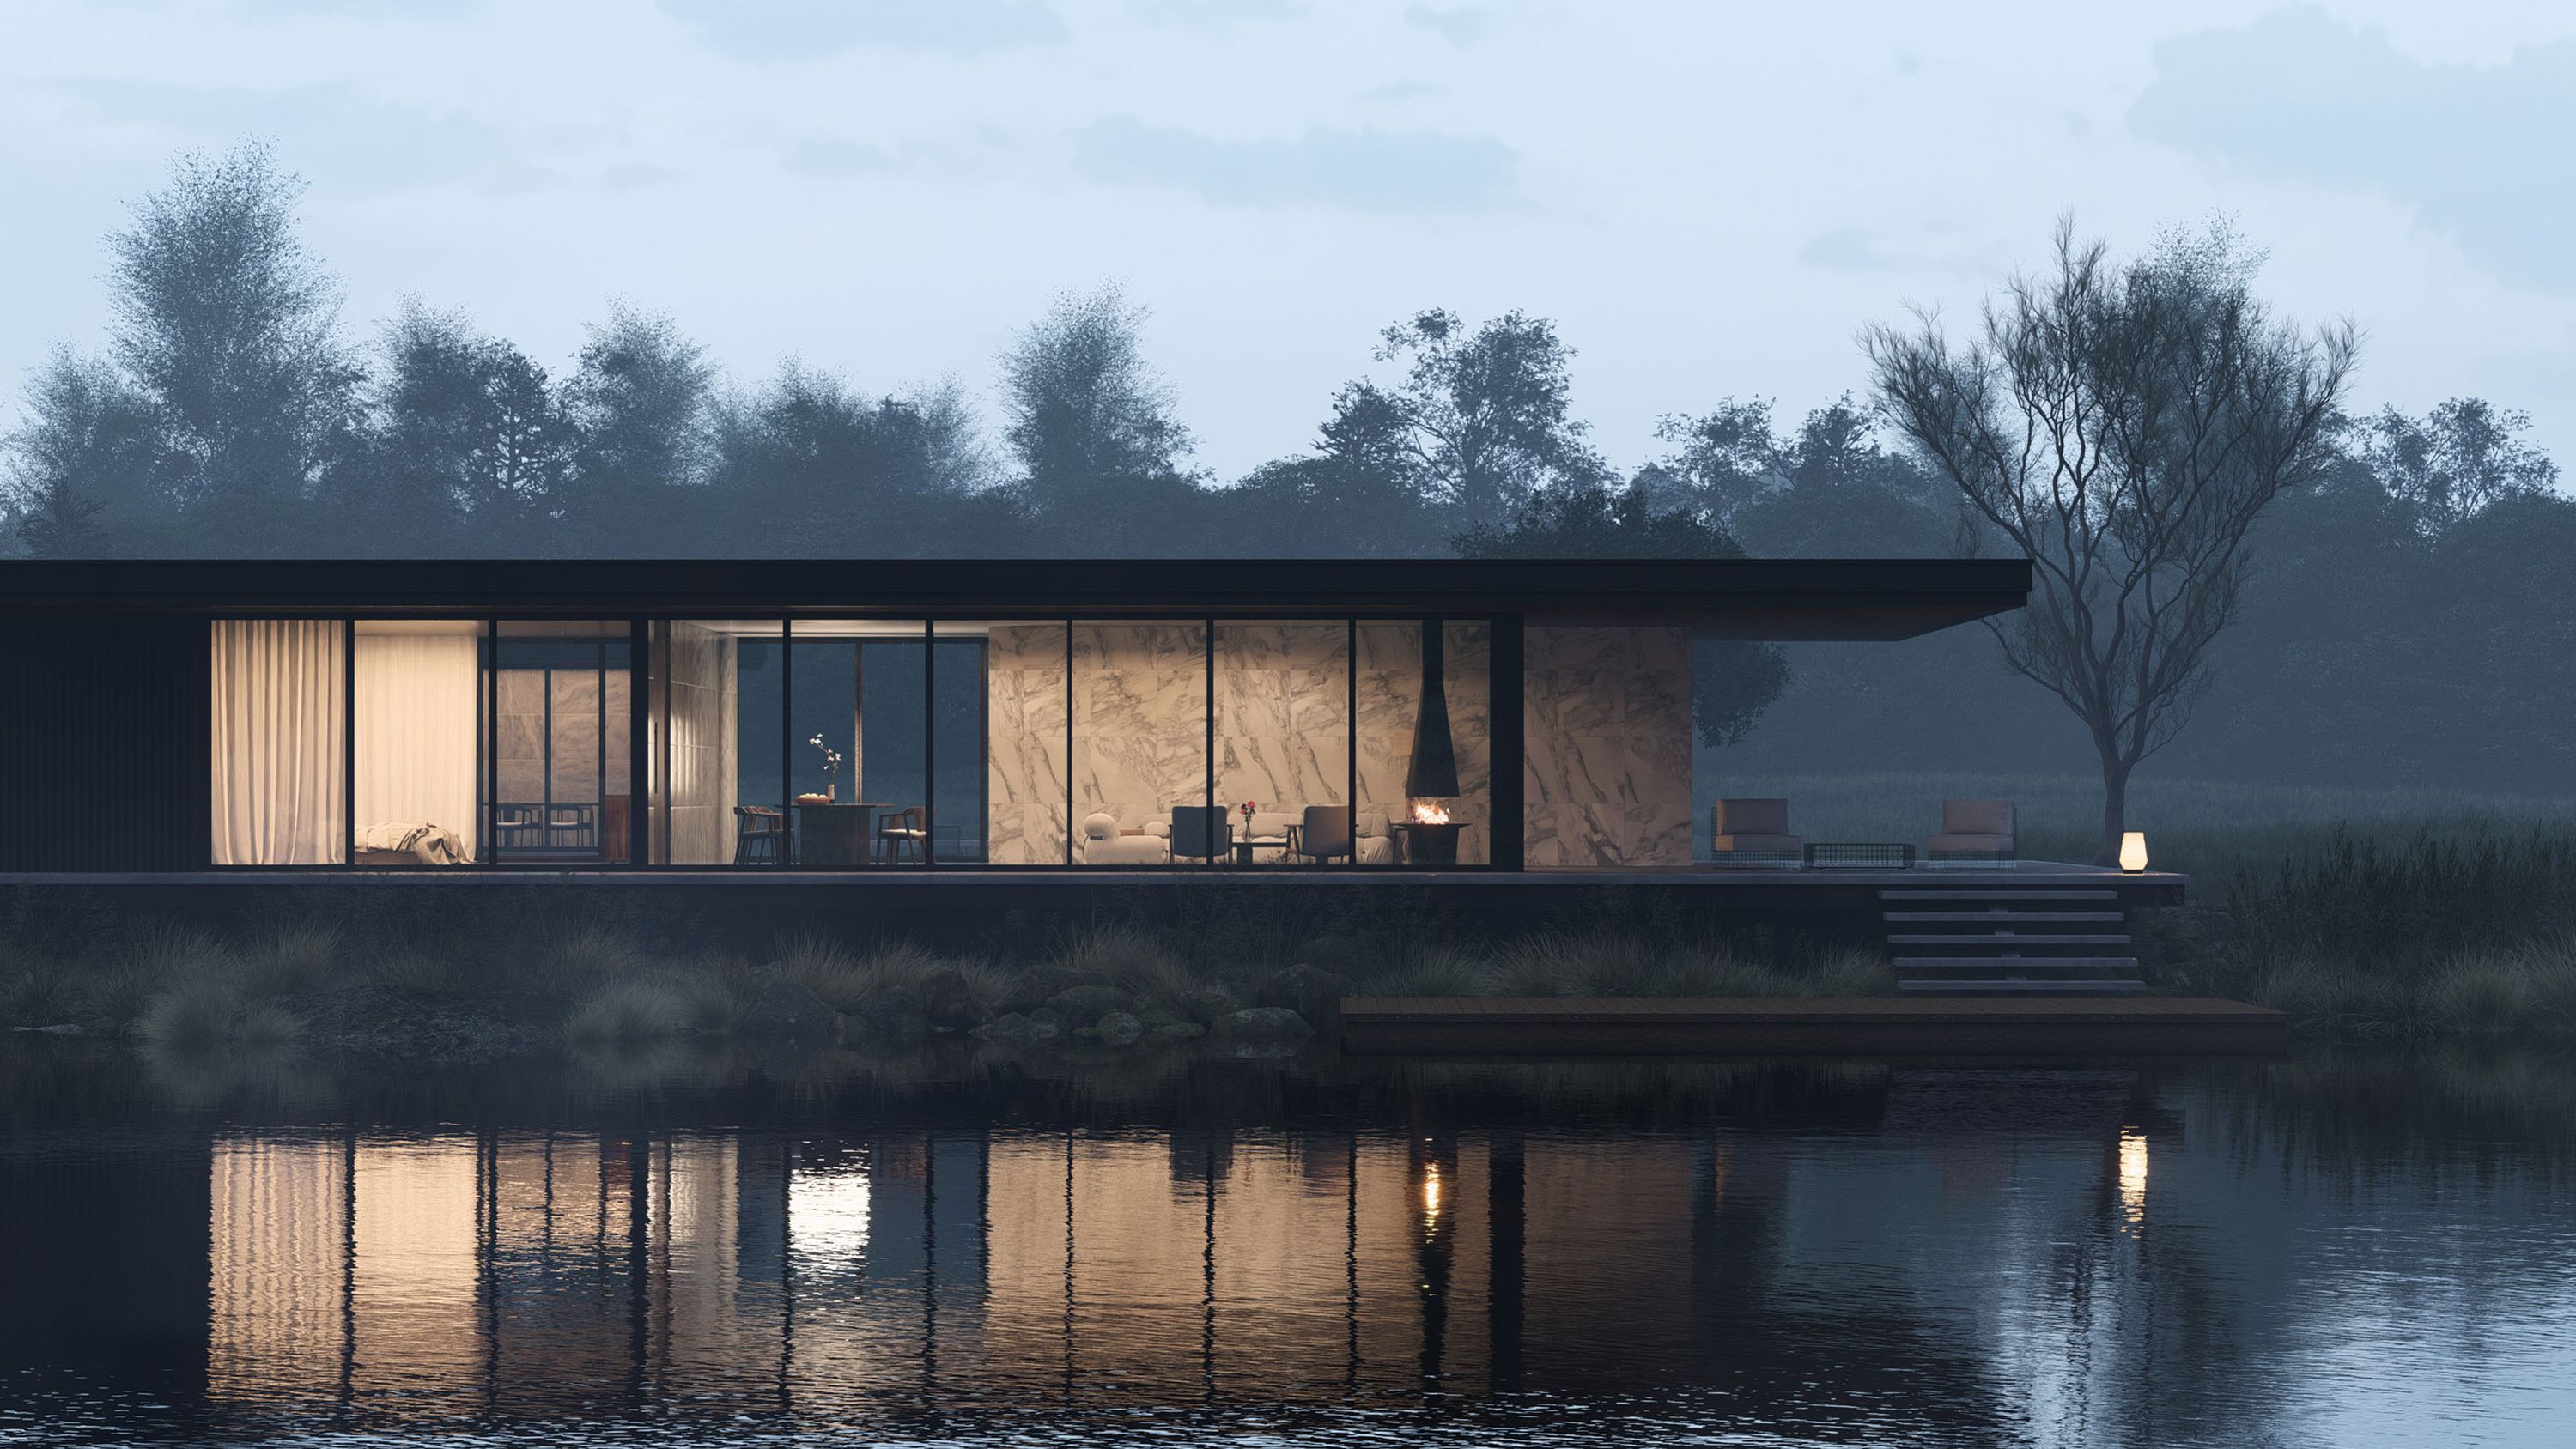
Communicate your unique style
Show your designs the way you want them to be seen. With Lumion, you can easily add a personal touch to your design presentations that otherwise would take hours to create.
Whether you prefer a conceptual style or a realistic visualization, you have full control of the creative process.
Stable at all times
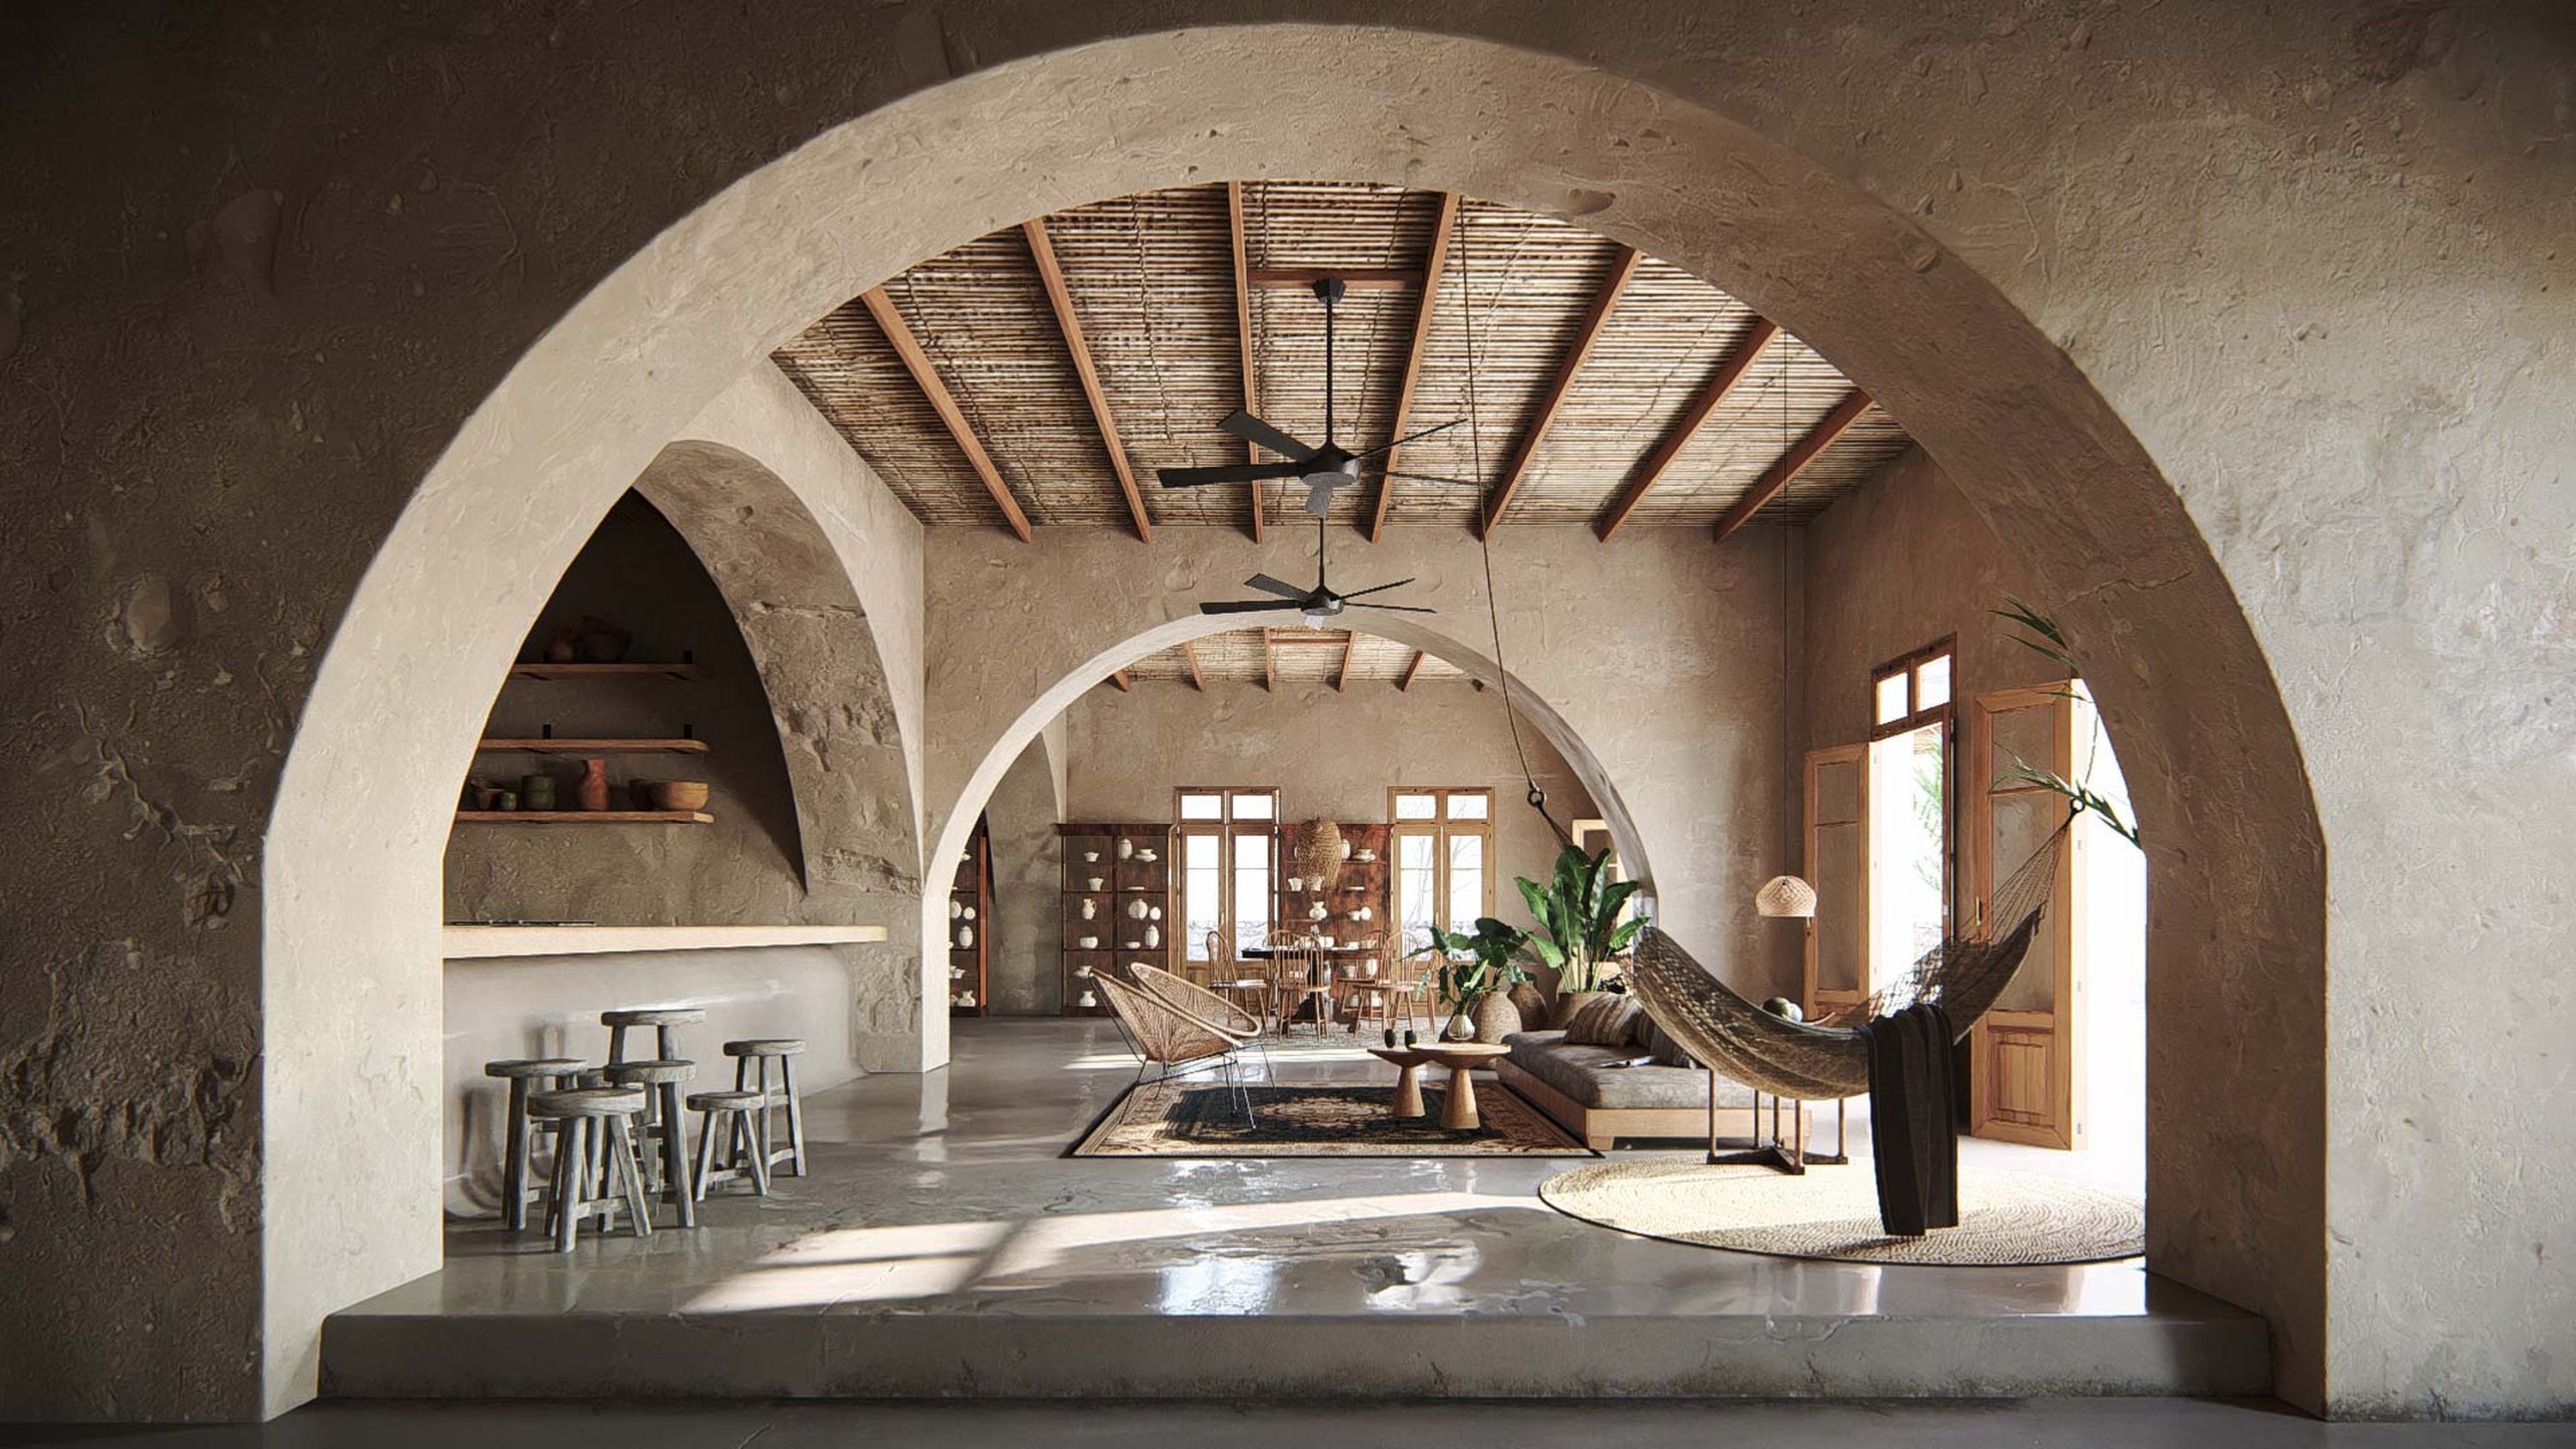
See what you can achieve with Lumion
From beautiful buildings and cozy interiors to sweeping landscapes and large-scale urban projects, Lumion has all the tools, content, and effects to help you bring your designs to life in stunning quality.